Loss Wax System
Below we have tried to illustrate the process of making a loss wax system statue:
There are few important steps in lost wax casting process :
Step 1: Sculpting ( It all starts in the studio with an idea, Then figuring out how to realize the vision in clay.)
Step 2: Mold Making.
Step 3: Wax Pouring.
Step 5: Wax Spruing.
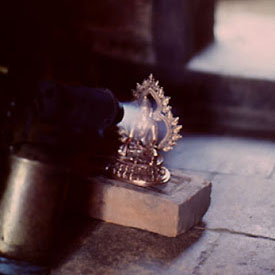
Step 6: Shell Dipping.
Step 7: Bronze Pouring.
Interestingly enough Loss wax process is also called Investment casting because after layers have been formed and dried, the wax is melted out of the ceramic tree by using steam (120?C) in an autoclave. This is why it is called "lost wax casting". The majority of the molten wax which can then be regenerated and is reusable.
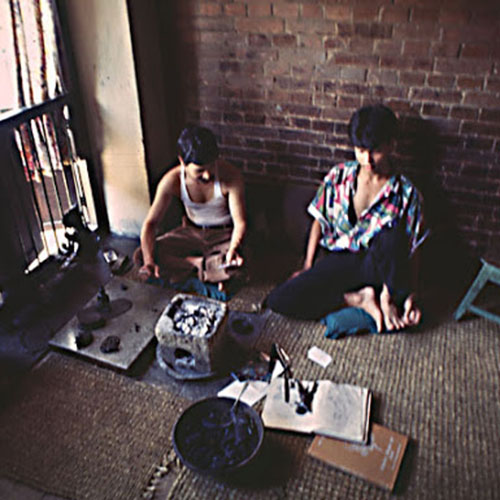
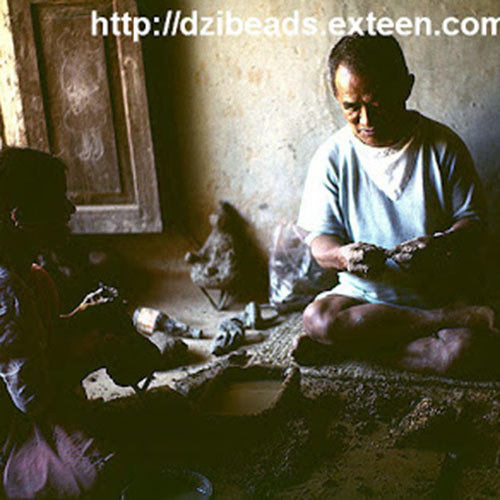
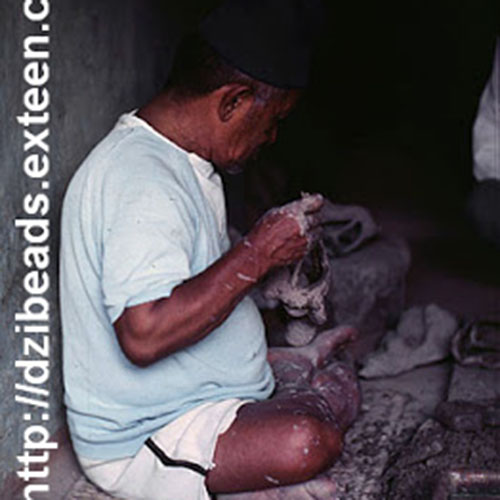
Before Making statue :At work room making the wax models.
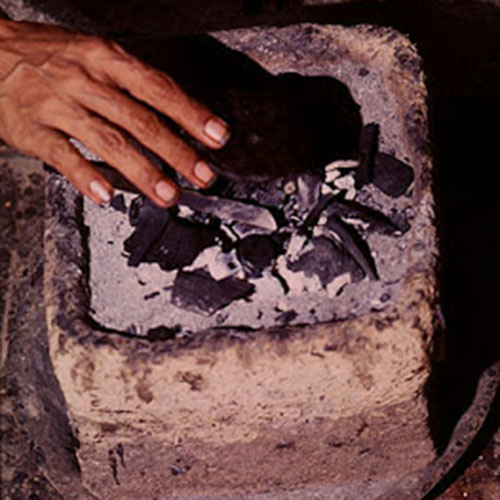
Softening a piece of wax over a brazier.
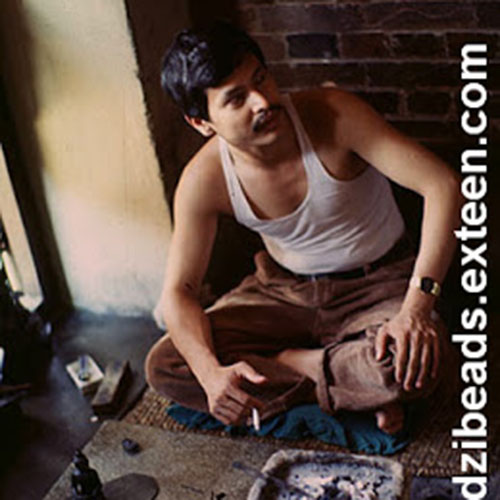
Relaxing after softening the wax The working environment with works in progress.

Working the face of an Ekajata wax model.
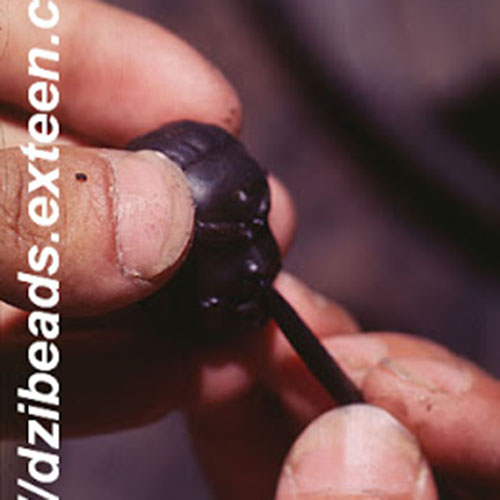
Working the face of wax model.Using a modeling tool to form the face of Ekajata.
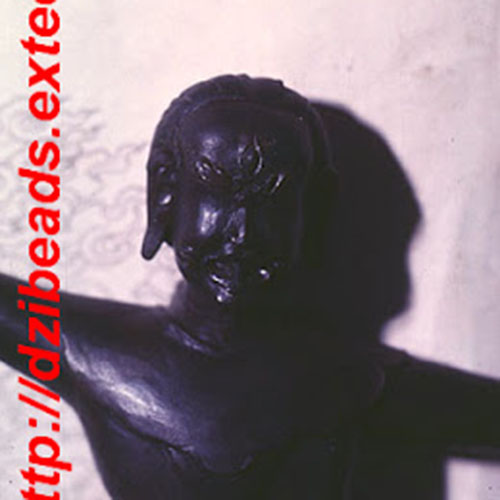
Deatail of wax model
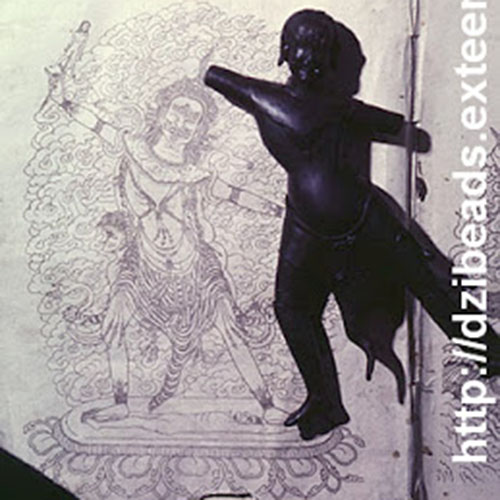
The design for Ekajata compared to the Tibetan book on which it was based.Statues Maker Are master in buddhism .
Detail of A partially finished Candamaharoshana (Acala) wax figure made in the Tibetan style.
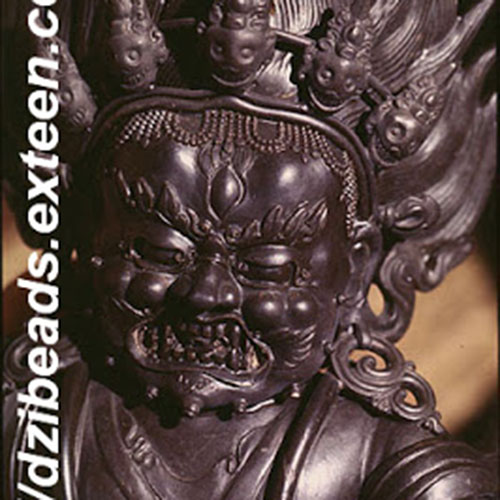
A finished wax image of Mahakala.
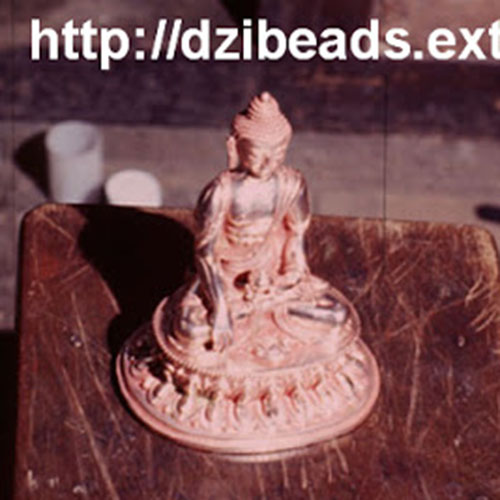
Anthor Finished Wax Model of Shakyamuni Buddha
One of the modelers working in the room shows the Pehar image on which he is working.
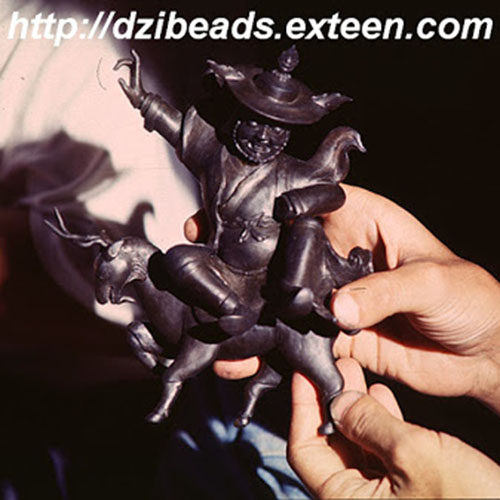
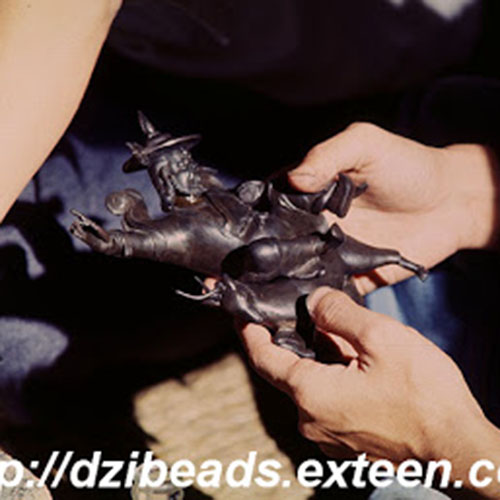
The artist showed how the goat , which had been completed earlier, fits under the image. ,
Tej Jyoti Shakya and his wife, Nani Maya Shakya Covering the wax model in a mixture of clay and dung
Pressing the mixture of clay and dung around the wax image.
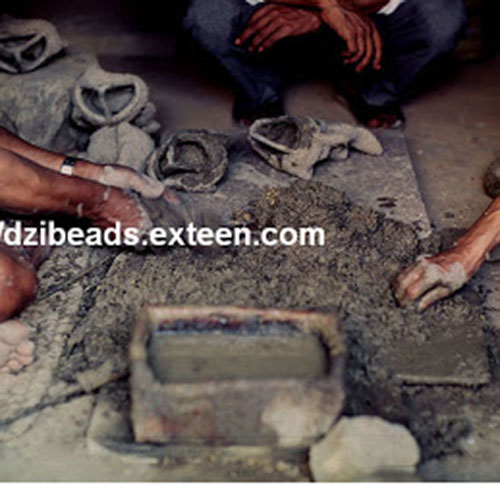
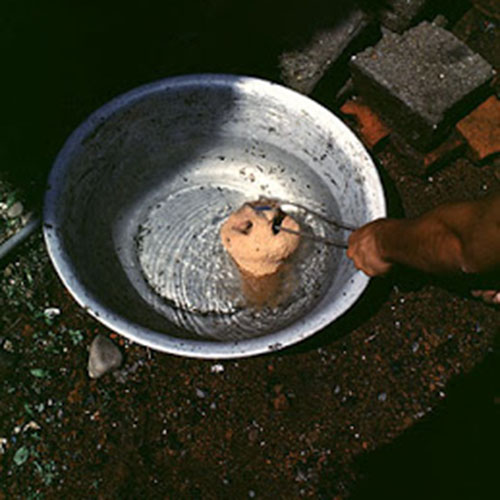
The board with the clay and dung mixture ready for use.
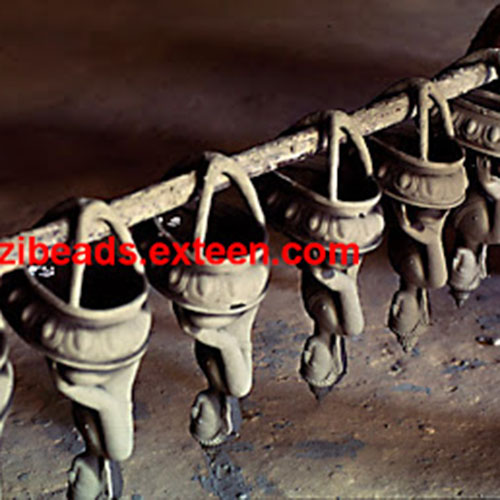
Model Pieces drying after the initial (dipped) thin layer of fine clay.
Clay-covered model pieces drying in the sun.
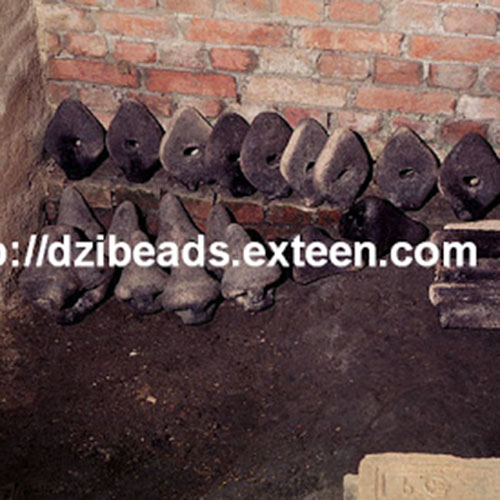
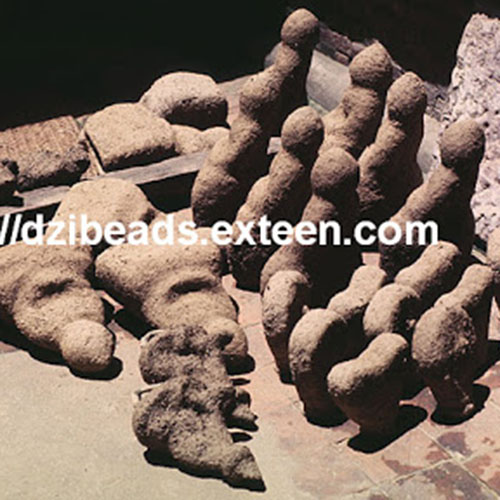
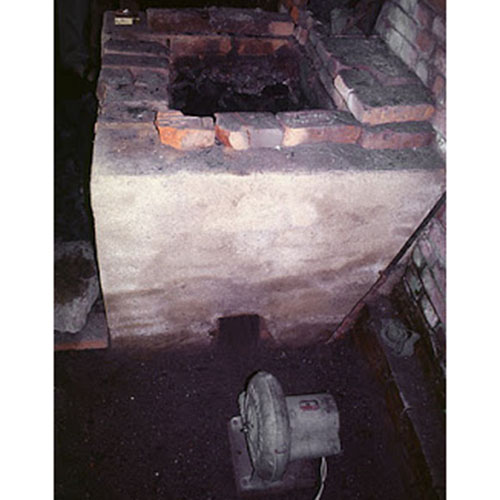
Molds waiting to be put into the burnout furnace
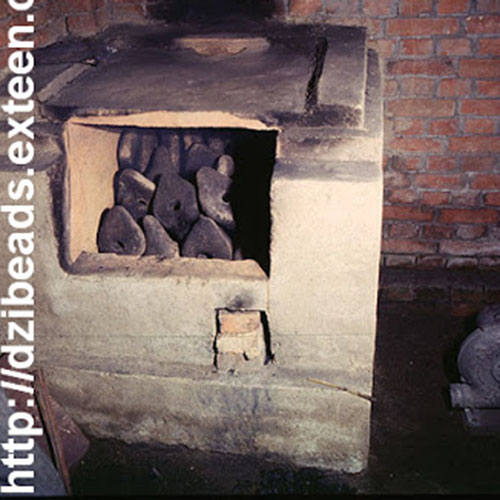
The same molds, seen in the previous image, in the burnout furnace
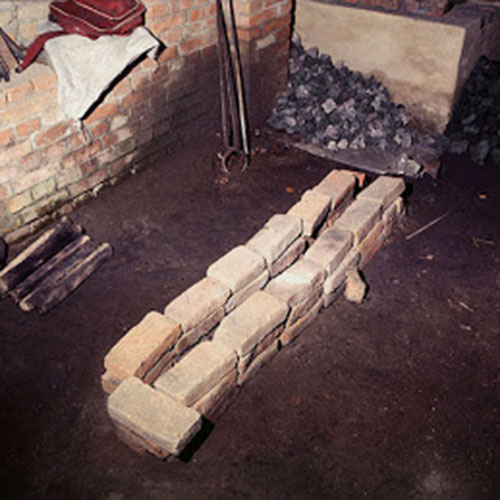
The double row of refractory bricks used to support the heated molds during casting.
The melting furnace and a pile of coke used for melting the metals. Laying the bed of coke in the melting furnace.

The first ignition of the coke.
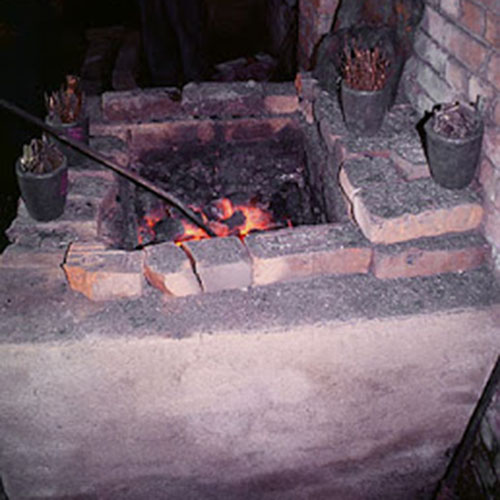
Checking the coke bed.
The electric blower used to force air into the melting furnace
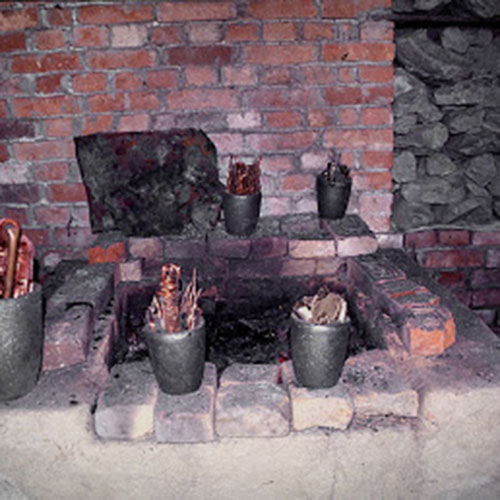
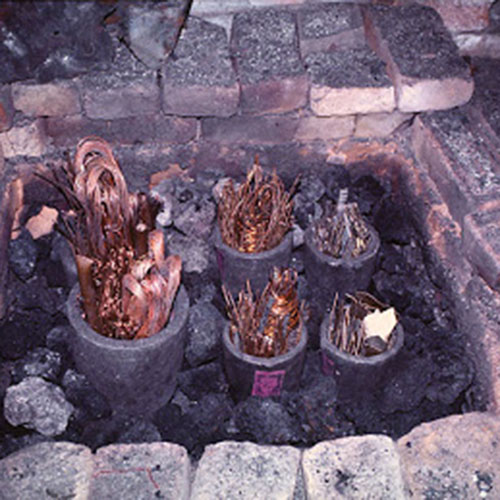
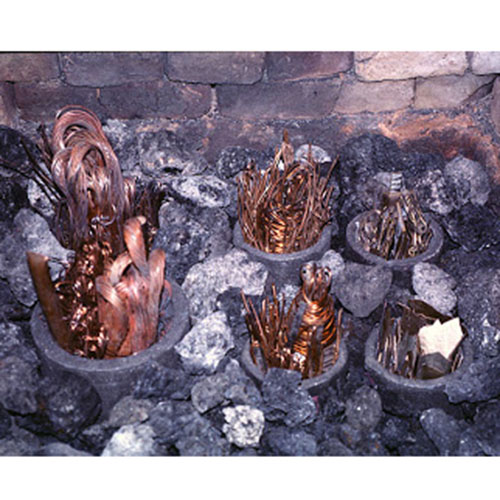
Beginning to fill the crucibles with scrap copper.
Preparing the bed of burning coke to receive the crucibles
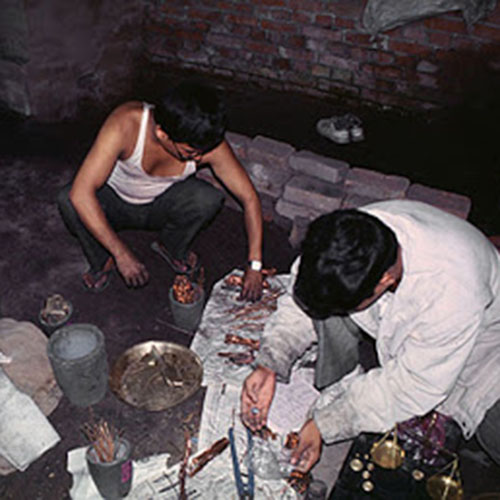
Sorting various metals used in the alloys.
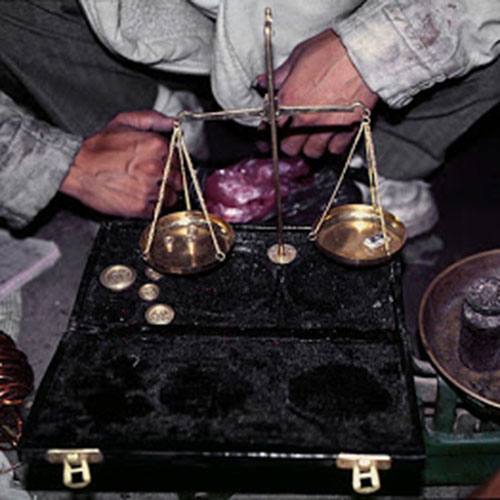
Weighing precious metals that are used in the alloys
Weighing copper from Singapore to achieve a correct alloy.
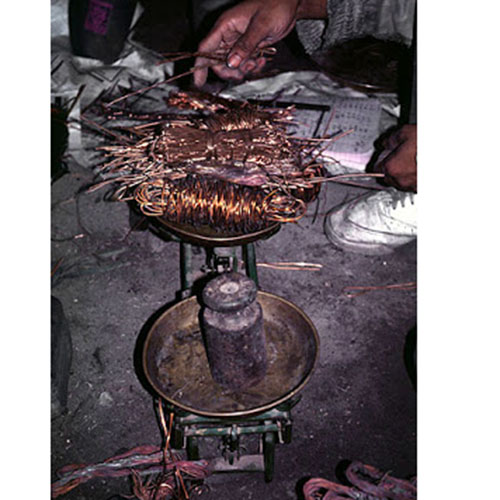
Different sizes of crucibles and various types of metals to be cast in this melt.
Placing the crucibles in the bed of coke filled with metal are in place.
After the crucibles are in place, more coke is piled around them.

The crucibles are covered with scrap metal to hold in the heat.
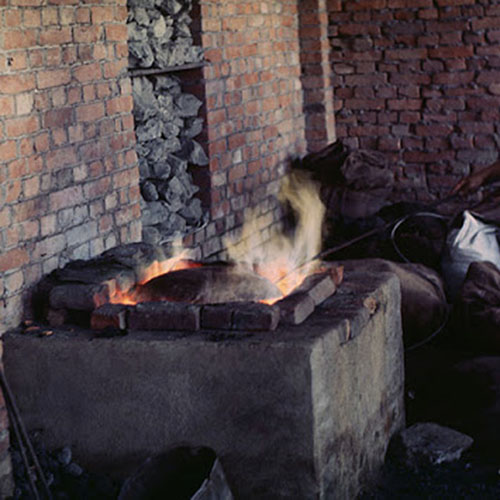
The electric fan is then connected.Soon a very hot flame is produced.
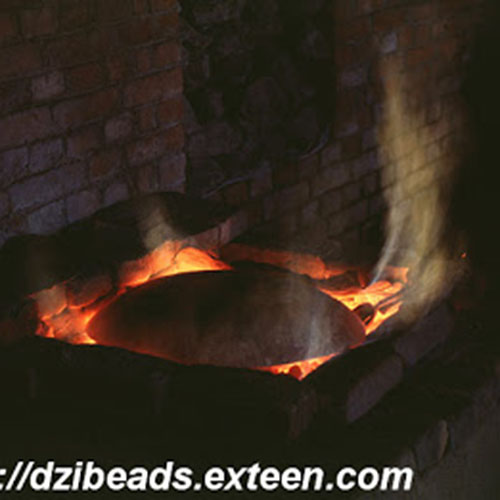
The entire furnace temperature goes up to about 1800 -1900 degrees.
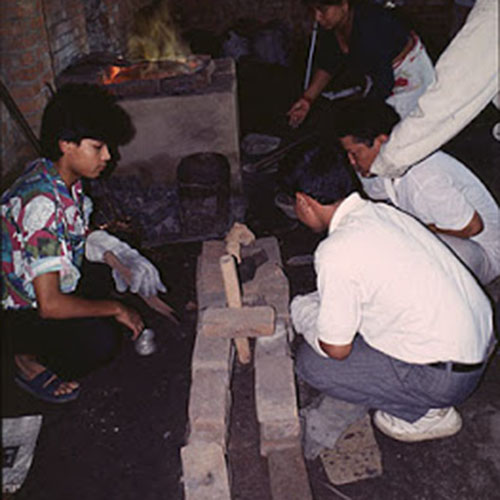
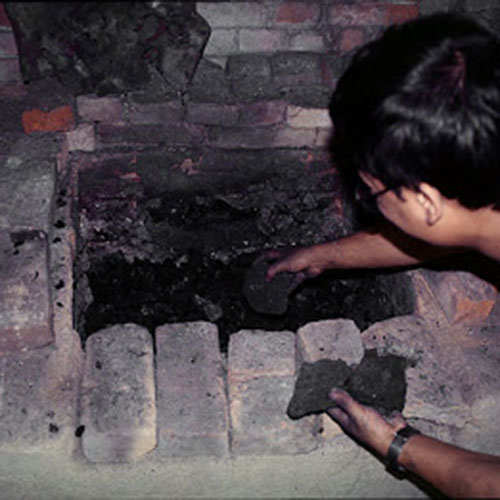
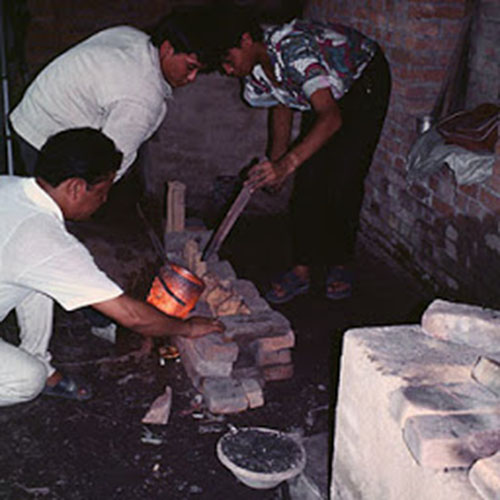
Setting up molds in between the refractory bricks to receive the molten metal. Handling the molds with asbestos gloves and bracing them with fragments of bricks.

Pouring the molten metal into the base of a mold
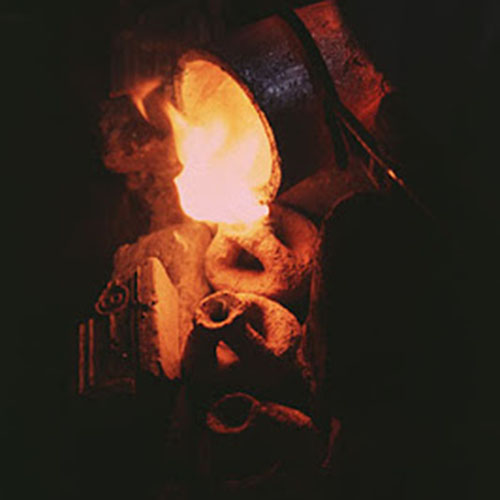
Another view of the artists pouring the molten metal.Detailed view showing the molten metal being poured into the sprues.
Preparing to lift and pour molten metal from one of the larger crucibles.
Cooling a mold containing the recently poured metal.
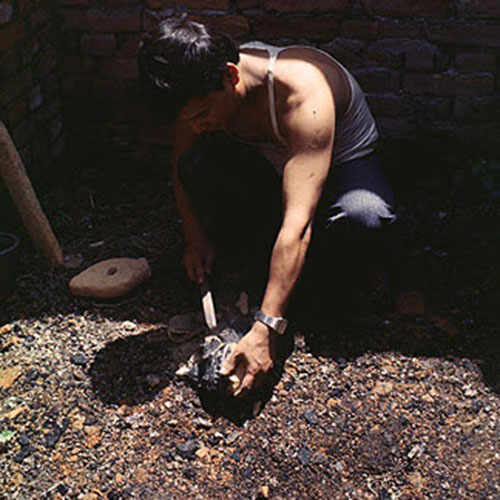
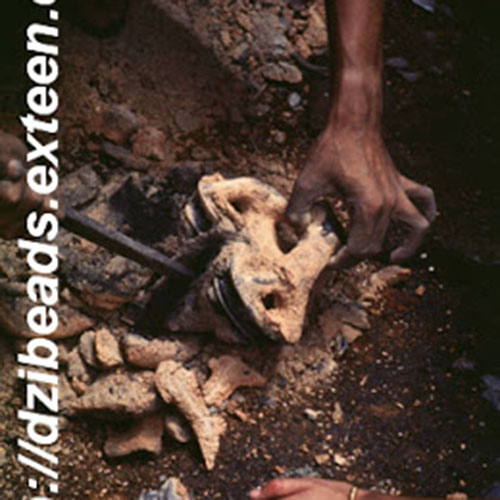
Beginning to break away the clay mold from the metal casting. The mold breaks away revealing the metal image inside
The first metal image from the day's work.
Examining the image for flaws
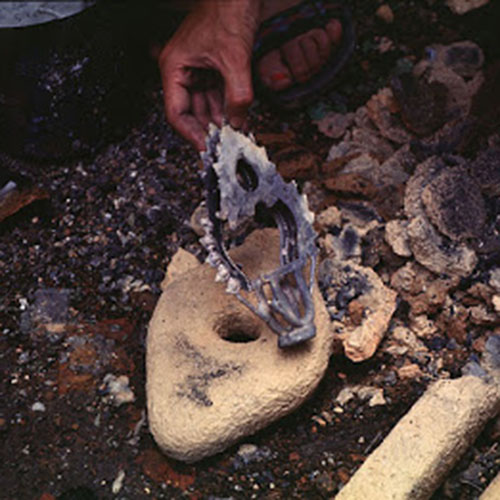
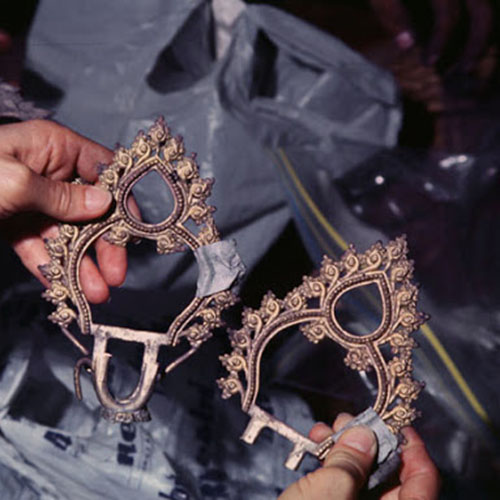
Two auras (prabhamandalas), one that cast perfectly and one (in front) that only partially filled.
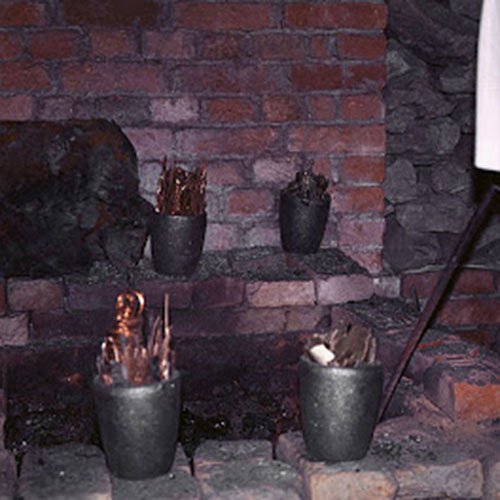
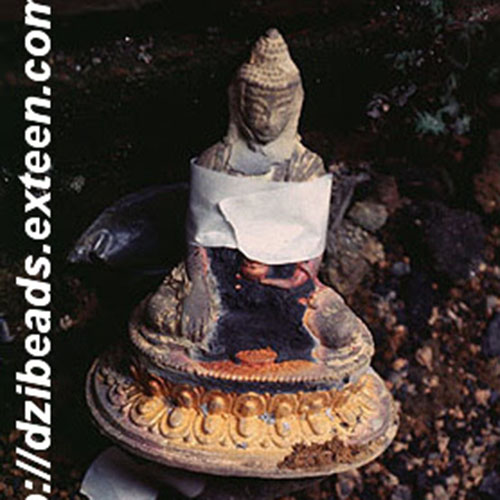
Opening more molds
Researchers mark specific metal images for future identification.
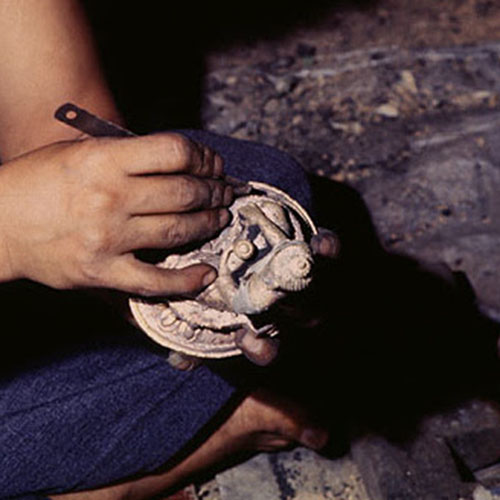
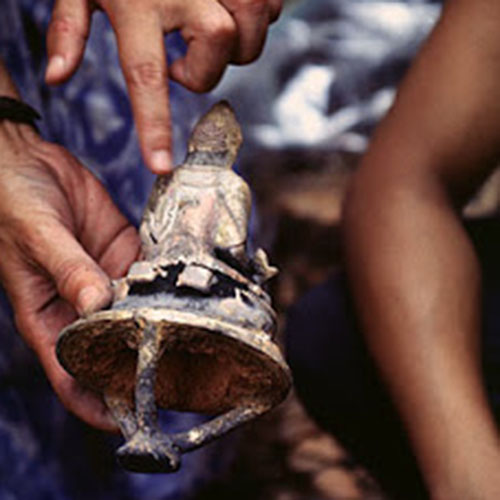
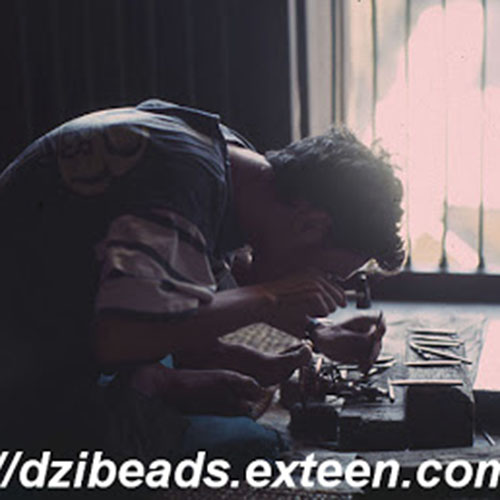
Cleaning the details of the image with a metal tool.
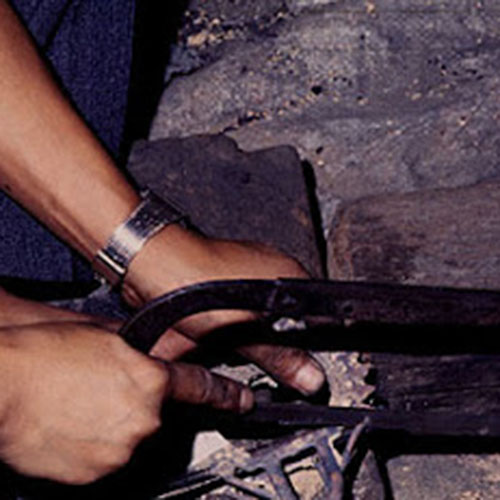
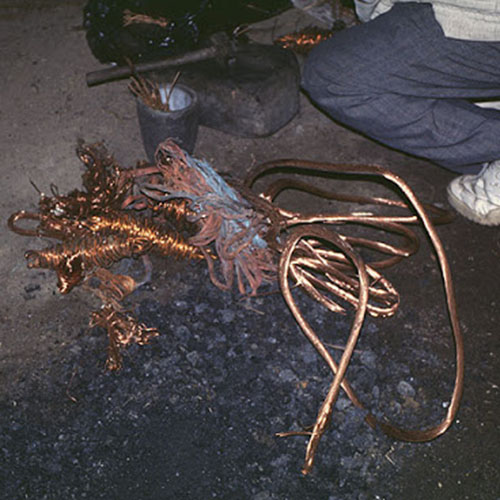
Sawing off the sprues from Aura image. The sprue metal will be reused in future castings.
Two auras that worked perfectly. The one on the right has been cut off of the sprues, while the one on the left still has the sprues attached.
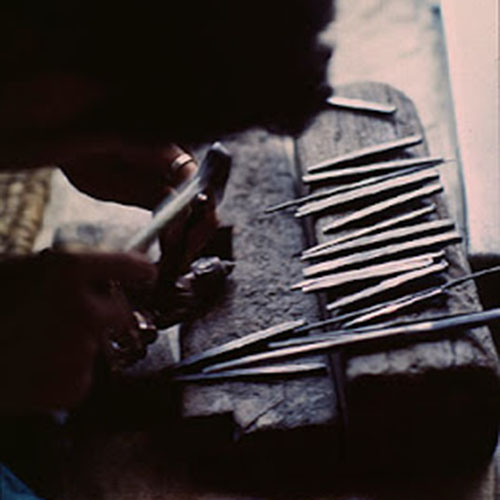
The finishing specialist begins the finishing process with a set of tools, including a small hammer. to give more detail
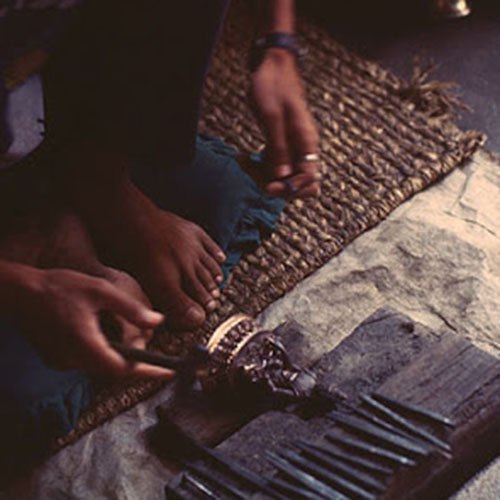
The entire surface of the image will be gently hammered to a final, almost polished finish.
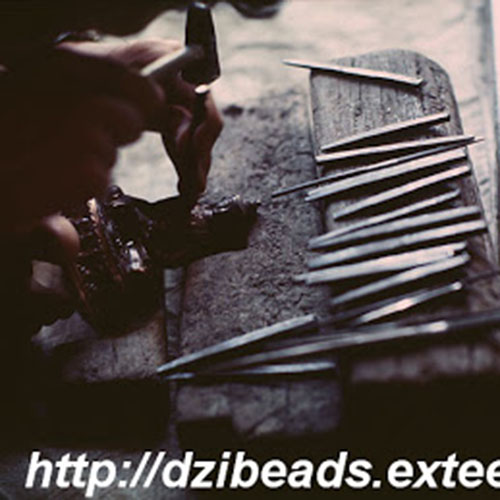
The finisher's tools and the work in progress
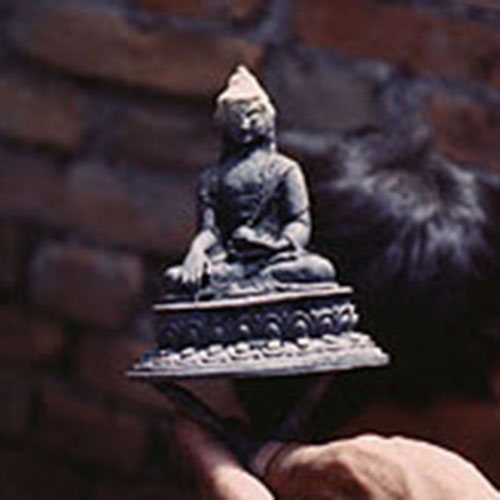
Finishing work on an image of the Buddha.
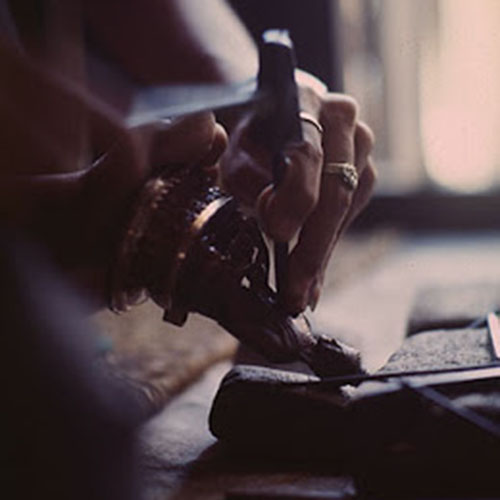
Hammering the chest of an image that is being held against the work block
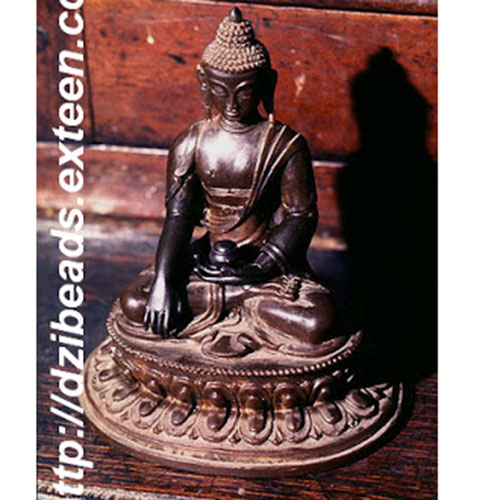
A Buddha image hammered and chased to the final, detailed finish.
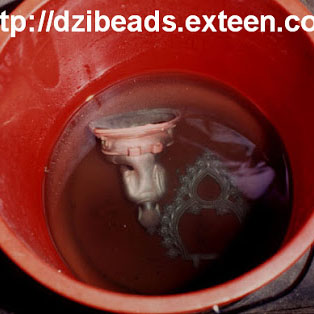
Cleaning in a very mild acid bath. The image and prabhamandala are placed in a final acidic bath to make sure the surface is absolutely clean.
Drying the image with a blow torch.
